gm factory running board installation instructions
Overview of GM Factory Running Board Installation
GM factory running board installation involves several key steps․ These include locating the correct mounting points under the vehicle, attaching the provided brackets securely, and then carefully securing the running boards to these brackets using the appropriate fasteners․
GM running boards, also known as assist steps, are designed to enhance both the functionality and aesthetics of General Motors vehicles․ These boards provide a convenient step-up into the vehicle, particularly useful for trucks, SUVs, and vans, and for passengers of all ages and mobility levels․ Factory running boards are specifically engineered to integrate seamlessly with the vehicle’s design․
Available in various styles, including fixed, retractable (powered), and articulating designs, GM running boards offer a range of options to suit different needs and preferences․ Installation typically involves attaching the boards to the vehicle’s frame using provided brackets and hardware․ Ensuring correct fastener usage is critical․
This guide focuses on the installation of GM factory running boards, providing detailed instructions and safety precautions to ensure a successful and safe installation process․ Whether you’re enhancing the accessibility of your vehicle or adding a touch of style, understanding the basics of GM running boards is the first step․
Benefits of Factory Running Boards
Factory running boards offer several advantages for GM vehicle owners․ Primarily, they provide enhanced accessibility, making it easier to enter and exit the vehicle, especially for children, the elderly, or those with mobility challenges․ This is particularly beneficial for taller vehicles like trucks and SUVs․
Beyond accessibility, running boards offer protection to the vehicle’s rocker panels from road debris, mud, and other potential damage, helping to maintain the vehicle’s appearance and resale value․ They also provide a convenient step for reaching the vehicle’s roof for cleaning or loading cargo․
Aesthetically, factory running boards can enhance the vehicle’s overall look, adding a touch of style and ruggedness․ GM factory running boards are designed to seamlessly integrate with the vehicle’s existing design, ensuring a cohesive and professional appearance․ Furthermore, certain models, like powered running boards, offer added convenience and a high-tech appeal, automatically deploying and retracting for ease of use;
Preparation for Installation
Before beginning the installation, gather all necessary tools and materials․ Review safety precautions to ensure a safe and smooth process․ Proper preparation is key for a successful running board installation on your GM vehicle․
Tools and Materials Required
Successfully installing GM factory running boards requires specific tools and materials․ Essential tools include a socket set with various sizes, ensuring compatibility with the fasteners provided․ A torque wrench is crucial for tightening bolts to the specified torque, preventing damage and ensuring secure attachment․ You’ll also need a set of wrenches, a screwdriver (both Phillips head and flathead), and possibly a rubber mallet to help align components․
Materials required typically consist of the running boards themselves, mounting brackets, bolts, nuts, washers, and any specialized fasteners included in the installation kit․ Thread-locking compound may be necessary for certain bolts to prevent loosening over time․ Safety glasses and gloves are also recommended for personal protection․ Consult the installation guide to verify the specific tools and materials needed for your particular GM model and running board type․ Having everything ready before you start will streamline the installation process․
Safety Precautions
Prioritizing safety is paramount when installing GM factory running boards․ Always wear safety glasses to protect your eyes from debris and potential flying particles․ Gloves will safeguard your hands from sharp edges and potential cuts․ Before starting, ensure the vehicle is parked on a level surface and securely supported with jack stands․ Never work under a vehicle supported only by a jack․
Disconnect the vehicle’s battery to prevent accidental electrical shorts during the installation process, especially if working near electrical components․ Be mindful of the tools you’re using and maintain a clean and organized workspace to avoid tripping hazards․ If the instructions call for it, be especially careful when removing body mount bolts due to potential thread locker residue․ If working with power tools, always follow the manufacturer’s instructions and wear appropriate hearing protection․ If you’re unsure about any step, consult a professional mechanic․ Safety first!

Step-by-Step Installation Guide
This section provides a detailed guide for installing GM factory running boards․ Follow each step carefully, ensuring proper alignment and secure fastening․ Refer to the included diagrams and torque specifications for optimal results and safe installation․
Locating Mounting Points
The first crucial step in installing GM factory running boards is accurately locating the designated mounting points on your vehicle’s undercarriage․ These points are specifically engineered to provide a secure and stable attachment for the running boards, ensuring safety and functionality․
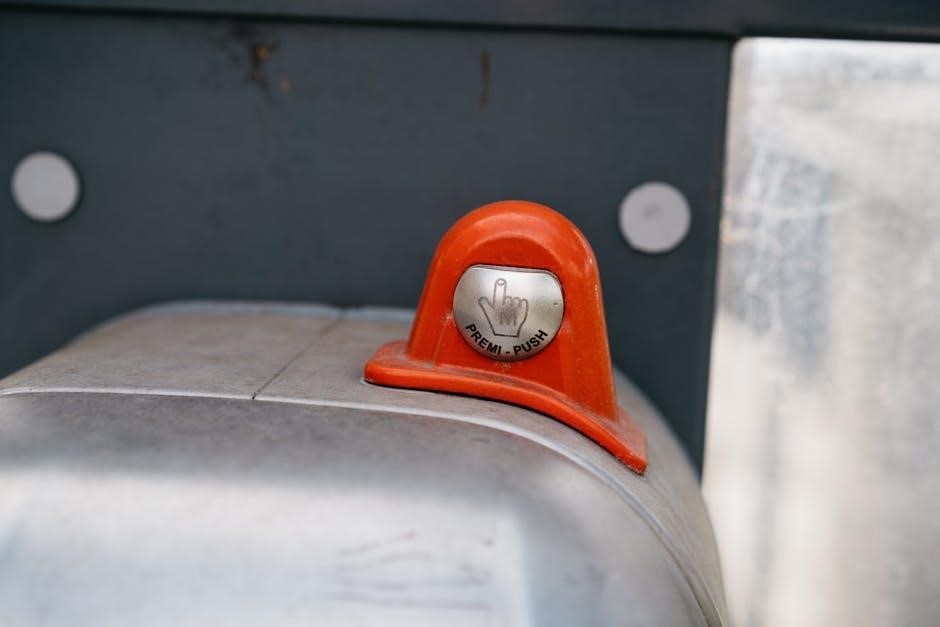
Begin by consulting the vehicle’s service manual or the installation guide provided with the running boards․ These resources typically include detailed diagrams illustrating the precise location of the mounting points․ Look for pre-drilled holes or designated areas on the frame or rocker panels․
Carefully inspect the undercarriage, comparing it to the diagrams․ Remove any existing rubber plugs or covers that may be concealing the mounting points․ Ensure that the areas are clean and free from debris or rust, as this can affect the proper seating of the brackets․
It’s essential to identify the correct mounting points for each bracket, as they may differ in size or orientation․ Using a measuring tape, verify the distances between the mounting points to confirm their accuracy․ If unsure, consult with a qualified mechanic or refer to online resources for additional guidance․ Proper identification of mounting locations is critical for a safe and successful installation․
Attaching the Brackets
With the mounting points correctly identified, the next step involves attaching the brackets that will support the running boards․ These brackets are designed to fit precisely onto the designated mounting locations, providing a secure and stable foundation․
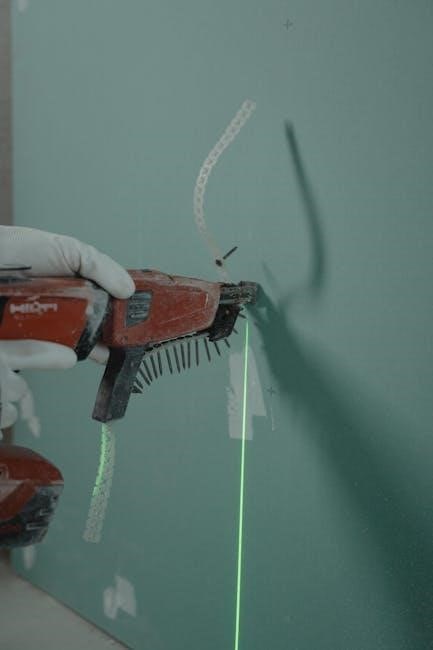
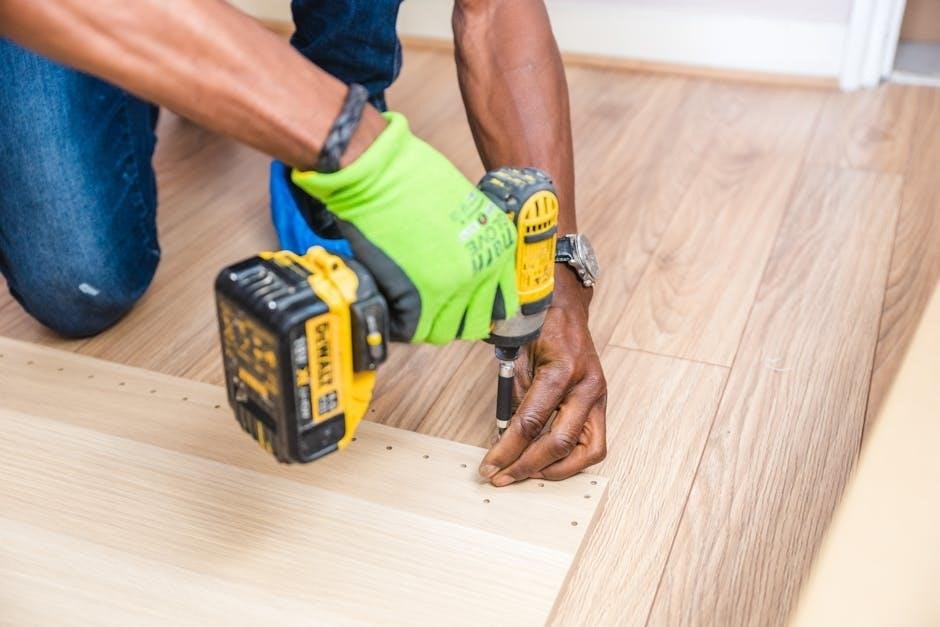
Begin by aligning the first bracket with its corresponding mounting points․ Ensure that the bracket is oriented correctly, following the instructions in the installation guide․ Insert the appropriate fasteners, such as bolts or screws, through the bracket and into the mounting points․
Hand-tighten the fasteners initially, ensuring that the bracket is snug against the vehicle’s frame․ Avoid over-tightening at this stage, as you may need to make adjustments later․ Repeat this process for each of the remaining brackets, ensuring that they are all properly aligned and secured․
Once all the brackets are in place, use a torque wrench to tighten the fasteners to the manufacturer’s specified torque settings․ This will ensure that the brackets are securely attached without damaging the mounting points or the brackets themselves․ Double-check that all fasteners are tightened to the correct torque to guarantee stability․ The correct fastener must be used!
Securing the Running Boards
With the brackets firmly attached, you can now proceed to secure the running boards themselves․ Carefully lift the running board into position, aligning it with the mounted brackets․ Depending on the design, the running board may attach to the brackets using bolts, screws, or specialized fasteners․
Insert the fasteners through the designated holes in the running board and into the corresponding holes or slots on the brackets․ Hand-tighten the fasteners initially, ensuring that the running board is properly aligned and centered․ Make any necessary adjustments to achieve the desired position and appearance․
Once you are satisfied with the alignment, use a wrench or socket to tighten the fasteners securely․ Again, refer to the installation guide for the manufacturer’s recommended torque specifications․ Tighten the fasteners in a crisscross pattern to ensure even distribution of pressure and prevent any warping or misalignment․
Double-check that all fasteners are tightened to the correct torque․ Once the running boards are secured, give them a firm shake to ensure they are stable and properly attached․ Use the correct fastener in the correct location․

Post-Installation Checks
After installation, testing functionality and stability is vital․ A final inspection and adjustments ensure safety and proper fit․ Verify all fasteners are tightened and the boards are secure before use․
Testing Functionality and Stability
Following the GM factory running board installation, rigorously test the functionality and stability․ Begin by ensuring the running boards deploy and retract smoothly, if power-operated․ Listen for any unusual noises during operation, indicating potential issues with the motor or linkage․ Check the boards at different heights․
Next, physically test the stability of the installed running boards․ Apply weight gradually to different sections of the board, simulating normal use․ Observe for any excessive flexing, wobbling, or movement; Ensure the boards remain firmly attached to the mounting brackets and the vehicle’s frame․ Inspect the brackets․
If the running boards are equipped with lights, confirm that all lights are functioning correctly․ Verify proper wiring connections and secure any loose wires․ Address any problems immediately to prevent further complications․ Recheck all bolts․ These tests are extremely important for safety․
Final Inspection and Adjustments
The final stage of GM factory running board installation involves a comprehensive inspection and any necessary adjustments․ Start by visually inspecting all mounting points, brackets, and fasteners․ Confirm that all bolts are tightened to the specified torque, ensuring a secure and reliable connection․ Check for any signs of stress․
Next, examine the alignment of the running boards relative to the vehicle’s body․ Make sure the boards are level and evenly spaced on both sides․ If any misalignment is detected, carefully loosen the mounting bolts and reposition the boards as needed․ Retighten the bolts securely․
Finally, double-check all wiring connections, especially for power-operated running boards․ Ensure that all wires are properly secured and protected from potential damage․ Perform a final operational test, verifying smooth and reliable deployment and retraction․ These steps ensure satisfaction․